
Multi-Source
New in 4.0 (expanded in 4.5+)
Multi-Source lets a single MeshMonitor deployment talk to multiple meshes at once — Meshtastic, MeshCore, and MQTT — side by side. Serial- and BLE-attached Meshtastic nodes reach MeshMonitor through the Serial Bridge or BLE Bridge sidecar (they present as a TCP endpoint). Everything that used to be a global setting (Virtual Node, auto-responder, auto-traceroute, scheduler, permissions) is now configured per source.
What is a Source?
A source is one upstream connection MeshMonitor speaks to. Each source has:
- A type —
meshtastic_tcp,meshcore,mqtt_broker(embedded MQTT broker hosting locally-connected clients), ormqtt_bridge(MQTT client to one upstream broker, optionally attached to a siblingmqtt_brokerfor fan-out — see Embedded MQTT Broker & Bridge). Serial and BLE Meshtastic nodes connect through the Serial Bridge / BLE Bridge sidecars and appear asmeshtastic_tcpsources pointing at the bridge container. MeshCore connects directly — USB or TCP through the UI. No sidecar either way. - Its own connection settings (host, port, device path, credentials)
- Its own scheduler (auto-responder, auto-announce, auto-traceroute, auto-ack)
- Its own Virtual Node endpoint (TCP sources only)
- Its own permissions — which users can see/write to it
Sources are stored in the database and managed through the UI, not environment variables.
Where do sources come from?
Bootstrap (first run)
On first startup, MeshMonitor creates a single meshtastic_tcp source from these environment variables:
| Variable | Default | Notes |
|---|---|---|
MESHTASTIC_NODE_IP | 192.168.1.100 | Hostname or IP of your node |
MESHTASTIC_TCP_PORT | 4403 | TCP port |
After that first boot, the env vars are informational only. Changing them won't rename or reconfigure the existing source — use the UI instead. This keeps your single-node docker-compose.yml familiar while unlocking multi-node.
Adding more sources
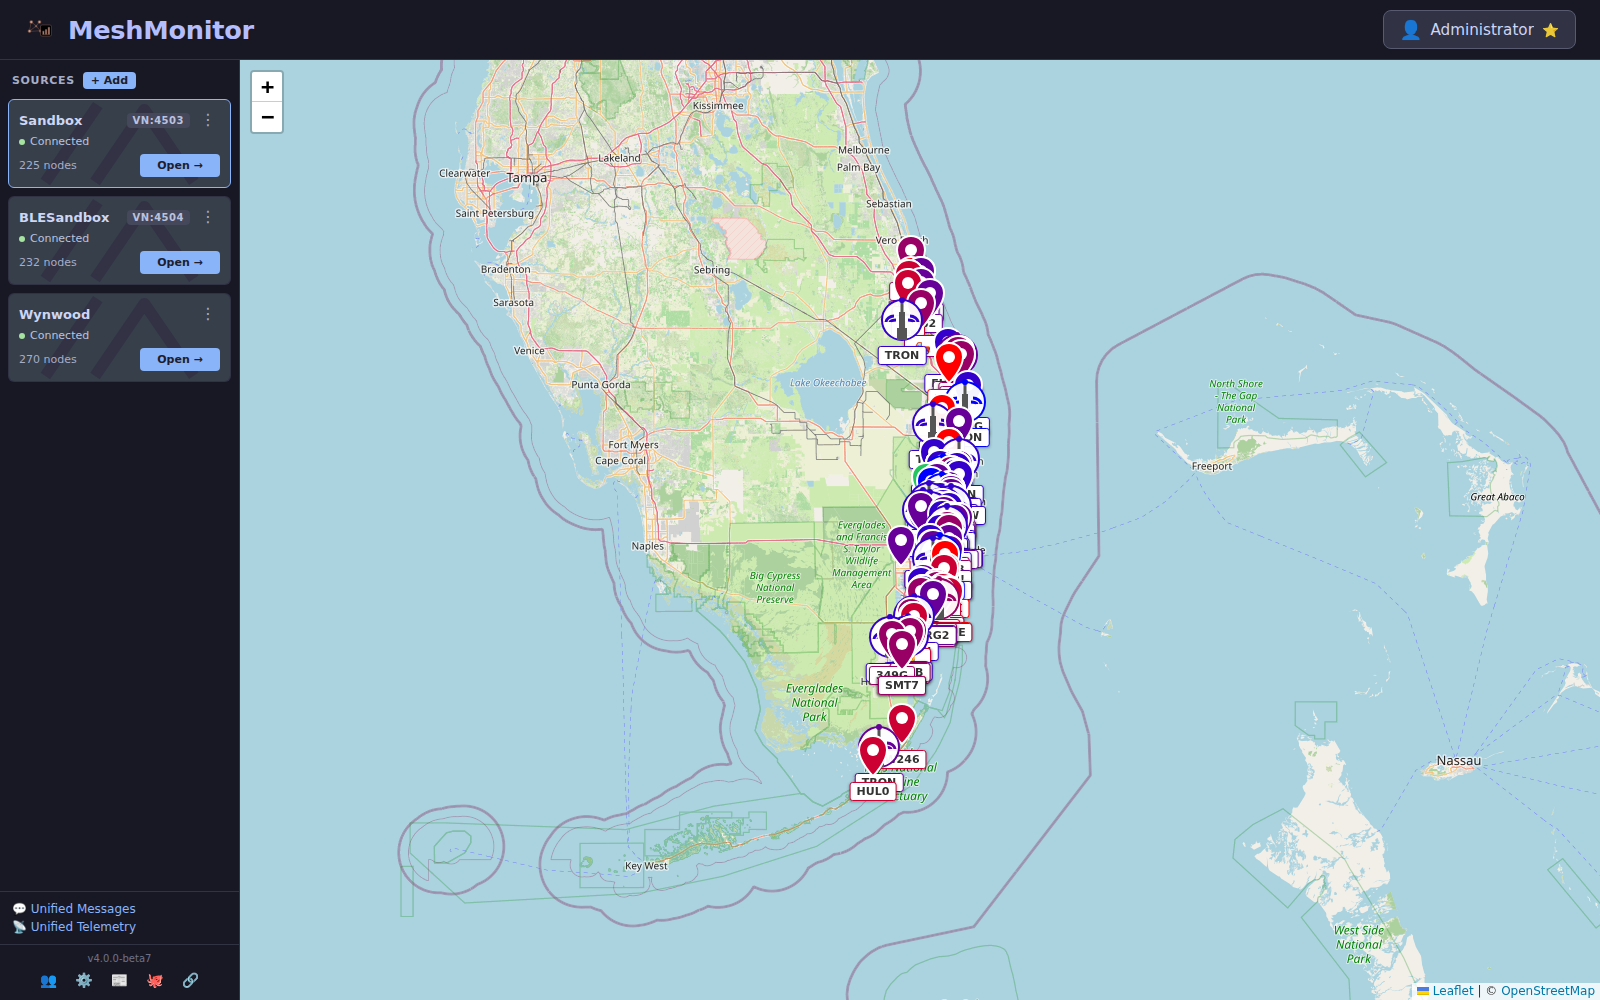
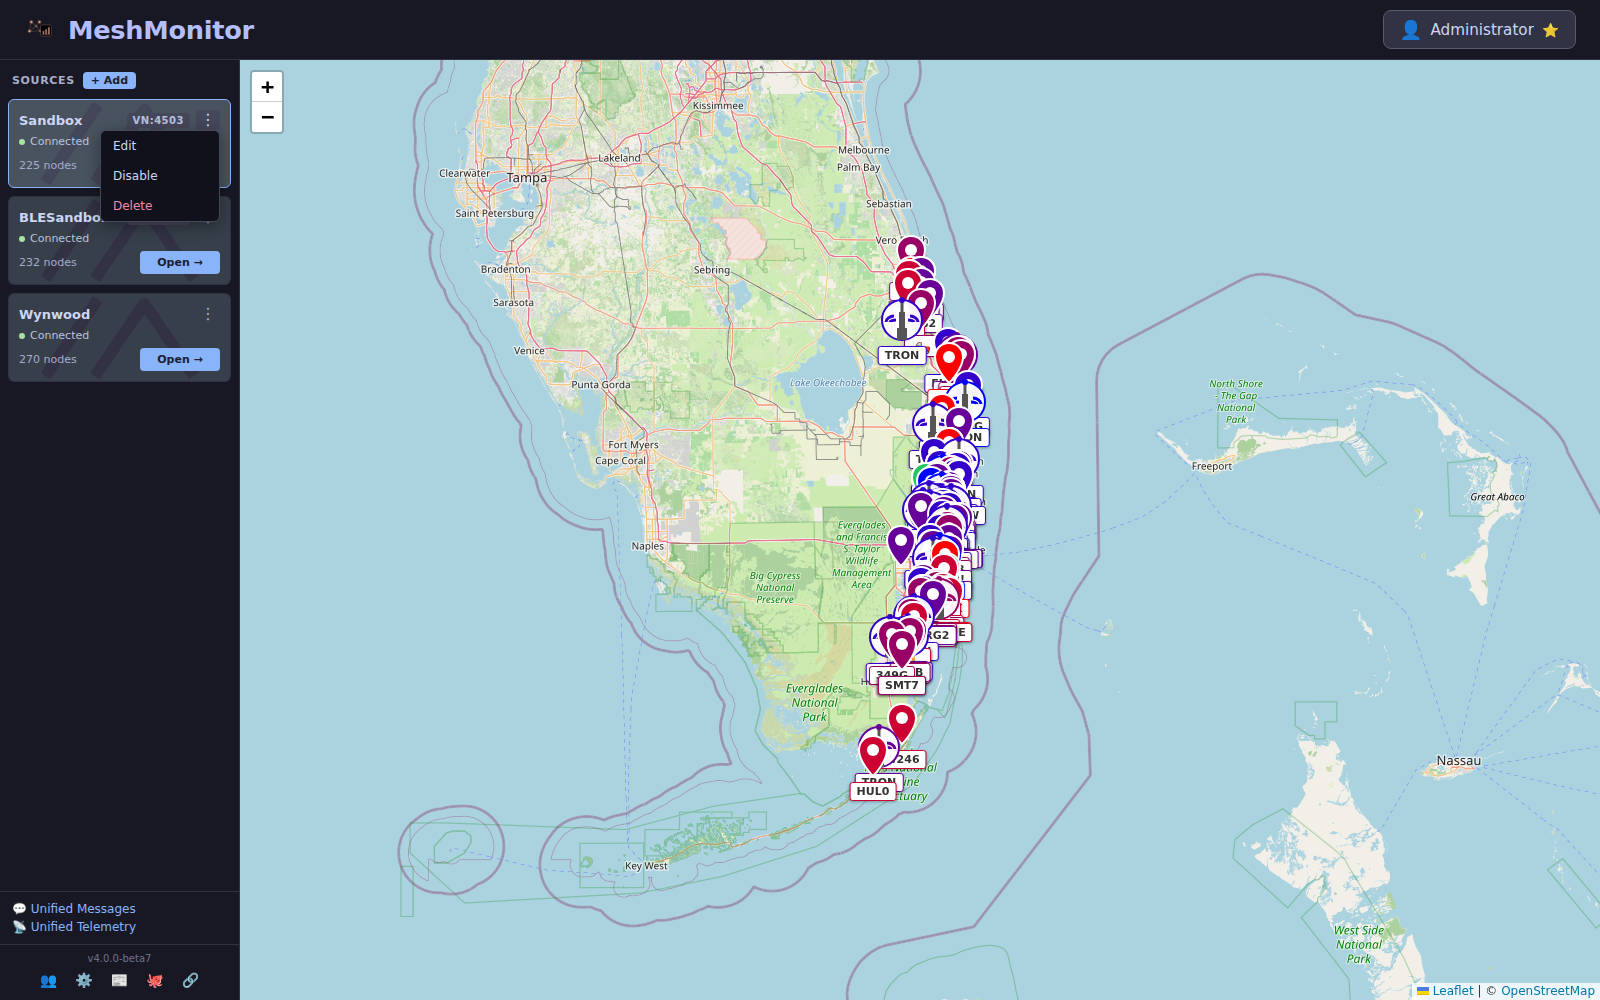
Open the Sources sidebar on the dashboard (admin only) to:
- Add source — click the + button next to the Sources header, choose a type, fill in connection details, save
- Edit — rename, re-host, re-port, toggle Virtual Node, or change other per-source settings
- Enable / Disable — pause an upstream connection without deleting it
- Delete — remove the connection and its source-scoped data
Changes that alter the upstream target (host, port, heartbeat) automatically restart the connection — no separate restart action is needed. The Sources sidebar is where all post-bootstrap connection changes happen.
Arranging the sidebar
New in 4.9.3
- Reorder (Edit mode) — click Edit next to + Add (requires
sources:write) to reveal drag handles, then drag source cards into the order you want. Click Done to hide the handles again. The order is saved server-side and shared across users. - Resize — drag the sidebar's right edge to widen or narrow it; the chosen width is remembered per browser (200–480px). Useful for long MQTT source names.
- The per-source node count badge reflects each source's own nodes consistently, regardless of which source is currently selected.
Source picker
Nearly every top-level view has a source picker in the header. It controls which source's data you're looking at:
- Single-source mode — pick one source; the view shows only that source's nodes, messages, telemetry, and traceroutes
- Unified mode (where available) — combines messages/telemetry/traceroutes across all sources while still tagging each row with its originating source
Your picker choice persists per view and per user.
Virtual Node
Virtual Node is a MeshMonitor feature that lets mobile Meshtastic apps connect through MeshMonitor instead of directly to the node. In 4.0 it is per-source.
- Only
meshtastic_tcpsources support Virtual Node — MeshCore and MQTT sources ignore VN settings - Each source can expose its own VN endpoint on its own port
- Ports must be unique across sources — the API rejects collisions with HTTP 409
Enabling on a source
- Open Dashboard → Edit Source on the TCP source you want to expose
- Expand the Virtual Node section
- Toggle it on
- Choose a port (the previous global default was
4404) - Decide whether to allow admin commands through the VN (reduces security — leave off unless you know you need it)
- Save
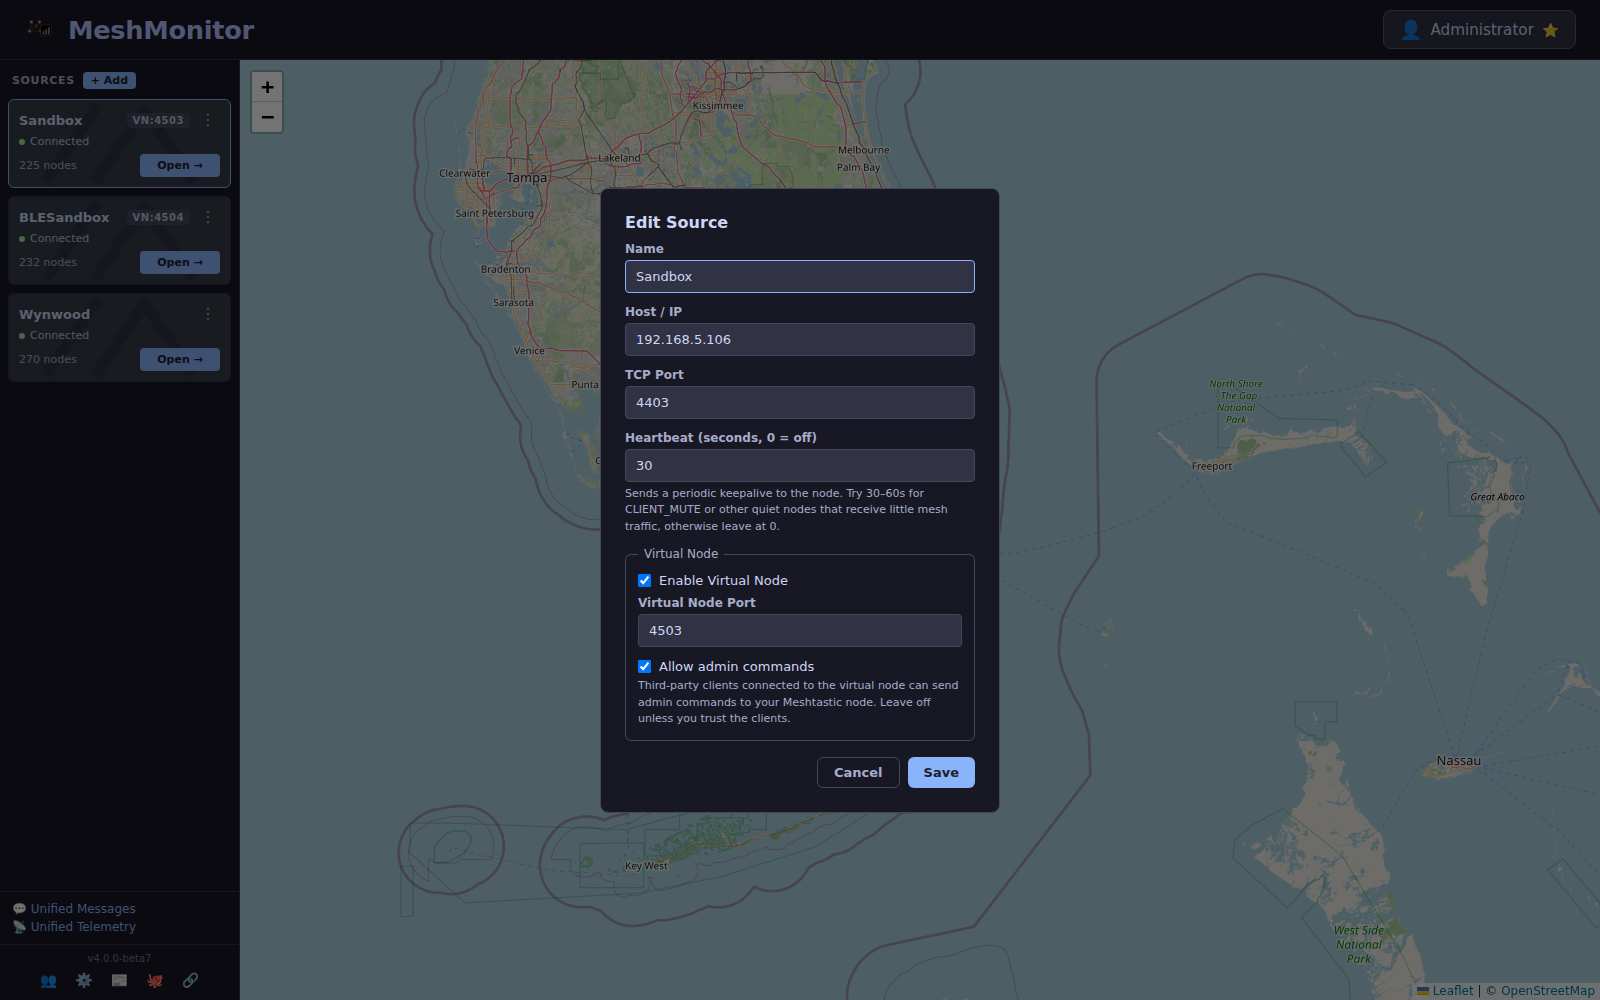
Virtual Node config changes are hot-swapped without reconnecting the upstream TCP socket. Changing host/port still triggers a full reconnect.
Docker port mapping
When you add a VN, publish the in-container port from your docker-compose.yml:
services:
  meshmonitor:
    ports:
      - "8080:3001"        # Web UI
      - "4404:4404"        # Virtual Node for source A
- "4405:4405" # Virtual Node for source B (if you expose a second)The Docker Compose Configurator publishes one VN host port by default (4404). Match the VN port you choose in the UI to one of the published host ports.
Breaking change from 3.x
The old global env vars — ENABLE_VIRTUAL_NODE, VIRTUAL_NODE_PORT, VIRTUAL_NODE_ALLOW_ADMIN_COMMANDS — were removed and no longer have any effect. If you upgraded from 3.x, re-enable VN on each source you want to expose.
Per-Source Permissions
MeshMonitor's role-based access control treats sources as first-class resources. Admins can:
- Grant a user access to one or more sources
- Restrict read/write/admin actions per source
- Hide entire sources from users who shouldn't see them
Unauthorized endpoints return HTTP 403 — URL-hash route bypasses are blocked.
See Per-Source Permissions for the full model.
What else is per-source?
Everything that used to be a single global setting is now per-source:
| Feature | Per-source in 4.0 |
|---|---|
| Virtual Node | ✅ |
| Auto-Responder | ✅ |
| Auto-Announce | ✅ |
| Auto-Traceroute filter | ✅ |
| Auto-Ack | ✅ |
| Auto-Delete by Distance | ✅ |
| Auto-Favorite | ✅ |
| Scheduled Messages | ✅ |
| Permissions | ✅ |
| Notifications / Apprise | ✅ (admins and subscribers receive per-source events) |
For global behavior that isn't source-specific (theme, language, map center, push VAPID keys, session policy), use the new Global Settings page — accessible from the dashboard sidebar.
Migration from 3.x
If you're upgrading from 3.x:
- Keep your env vars —
MESHTASTIC_NODE_IP/MESHTASTIC_TCP_PORTstill seed the first source on a fresh install - Drop removed VN env vars —
ENABLE_VIRTUAL_NODE,VIRTUAL_NODE_PORT,VIRTUAL_NODE_ALLOW_ADMIN_COMMANDSdo nothing in 4.0 - Re-enable VN per source — Dashboard → Edit Source → Virtual Node on each TCP source you want to expose
- Review permissions — the per-source permission matrix may need admin review for non-admin users
- Back up first — use System Backup from the Settings page before upgrading. The sources table is included.
REST API
The v1 API reflects the per-source model directly. All mesh-data resources are scoped under /api/v1/sources/{sourceId}/...:
GET /api/v1/sources                              # list sources
GET /api/v1/sources/{sourceId}/nodes
GET /api/v1/sources/{sourceId}/messages
GET /api/v1/sources/{sourceId}/channels
GET /api/v1/sources/{sourceId}/telemetry
GET /api/v1/sources/{sourceId}/traceroutes
GET /api/v1/sources/{sourceId}/network
GET /api/v1/sources/{sourceId}/packets
GET /api/v1/sources/{sourceId}/statusUse "default" as {sourceId} to target the primary source. All v1 requests require Authorization: Bearer mm_v1_.... See the API Reference for complete documentation.
Related
- Per-Source Permissions
- Store & Forward
- Auto-Responder
- Packet Monitor — now source-aware