
The Hurricane Preparedness guide covers how to operate MeshMonitor through a storm. This one covers how to build the box you'll be operating from — a self-contained kit that boots cold, serves its own map tiles, and never reaches for the internet.
The target deployment: a single small computer, a LoRa node, a battery, and a map of your region pre-loaded to disk. Everything below assumes you want zero external dependencies once the grid is down.
The pieces
| Component | Purpose |
|---|---|
| MeshMonitor | Dashboard, persistence, embedded MQTT broker (v4.6.0+) |
| Local tile server | Renders the map without tile.openstreetmap.org |
| LoRa node | Your physical link into the mesh (Meshtastic, MeshCore, or both) |
| Host computer | Runs the above; sized for your battery budget |
| Power | Determines how long the kit survives without grid power |
Local map tiles
MeshMonitor's map points at standard XYZ tile endpoints — vector (.pbf) or raster (.png). See Custom Tile Servers for the full configuration story; the offline-kit recipe is below.
TileServer GL + MBTiles
TileServer GL serves XYZ tiles from a single MBTiles file. Grab a regional MBTiles extract (Geofabrik, or build one with planetiler) and run:
docker run --rm -it -v $(pwd)/tiles:/data -p 8080:8080 \
maptiler/tileserver-gl --file /data/florida.mbtilesOnce the container is up, open MeshMonitor's Settings → Map and point the tile server URL at:
http://<host>:8080/styles/basic/{z}/{x}/{y}.png(Substitute whatever style your MBTiles exposes — tileserver-gl lists them at http://<host>:8080/.) The MeshMonitor map config lives in the database, not in env vars, so the URL you set in the UI persists across restarts.
Sizing rule of thumb: zoom 0–12 for an entire US state fits in ~1 GB; add zoom 13–14 only for the neighborhoods you actually care about — every additional zoom level roughly quadruples size.
A prebuilt docker-compose
Drop this on your kit machine and docker compose up -d:
# docker-compose.yml
services:
  meshmonitor:
    image: ghcr.io/yeraze/meshmonitor:latest
    restart: unless-stopped
    ports:
      - "8081:8080"      # MeshMonitor UI
      - "1883:1883"      # Embedded MQTT broker (v4.6.0+), if you enable it in Settings
    volumes:
      - ./meshmonitor-data:/data
    devices:
      # Pass through your serial-attached node (adjust path for your hardware)
      - /dev/ttyUSB0:/dev/ttyUSB0

  tiles:
    image: maptiler/tileserver-gl
    restart: unless-stopped
    command: ["--file", "/data/florida.mbtiles"]
    volumes:
      - ./tiles:/data:ro
    ports:
- "8080:8080"Drop your .mbtiles file in ./tiles/, docker compose up -d, then open MeshMonitor and configure:
- Settings → Map → tile server URL →
http://<host>:8080/styles/basic/{z}/{x}/{y}.png - Sources → add your local Meshtastic/MeshCore source
- Settings → MQTT Broker → enable the embedded broker (v4.6.0+) if you want it; the
1883port mapping above only matters once you turn it on
Both the tile URL and broker config persist in MeshMonitor's database — no env-var ceremony, no compose rewrites when you change them. Total cold-boot footprint: ~250 MB RAM, ~2 GB disk before tiles.
Hardware
The host computer
| Tier | Hardware | Idle draw | Notes |
|---|---|---|---|
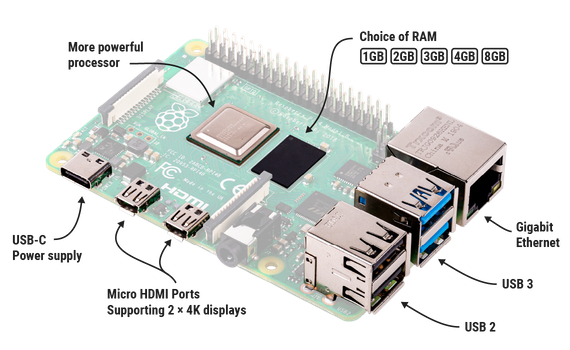
| Minimum | Raspberry Pi 4 (4 GB) | ~3 W | Works fine for one node, light tile traffic |
| Recommended | Raspberry Pi 5 (8 GB) + NVMe HAT | ~5 W | Headroom for MQTT broker, multiple sources, larger tile cache |
| Heavy | Mini-PC (N100 / N305, e.g. Beelink S12) | ~10 W | Native x86, faster tile renders, more storage, runs the whole stack with room to spare |
Avoid SD-card-only setups for long-running kits. SD cards fail under sustained write load — SQLite + telemetry will chew through a consumer card in months. NVMe or USB SSD for the data volume is worth the few extra dollars.
The node
Pick whichever protocol your local mesh actually runs:
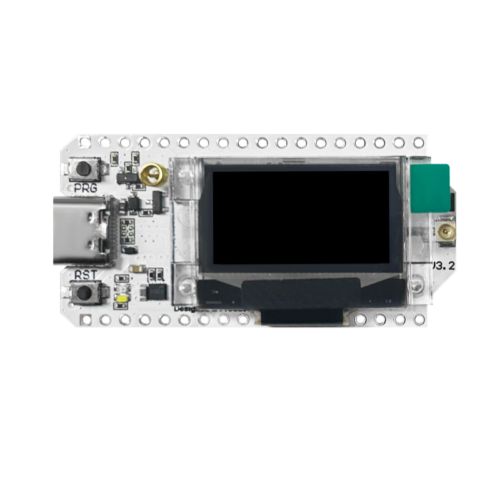
- Meshtastic — Heltec V3 (cheap, ubiquitous), RAK WisBlock 4631 (better antenna, expandable), LILYGO T-Beam (built-in GPS + 18650).
- MeshCore — RAK 4631 with MeshCore firmware, or a Solo board.
- Both — MeshMonitor handles multiple sources cleanly since v4.0 (MeshCore added as a first-class source in v4.5); you can run one of each on USB and treat them as independent sources in the UI.
Whichever you pick, the antenna matters more than the radio. A $20 fiberglass collinear on a mast beats a $200 board with the stock rubber-duck whip every time.
Power
| Component | Typical draw | 24h energy |
|---|---|---|
| Pi 5 + NVMe | ~5 W | ~120 Wh |
| USB-attached node | ~0.5 W | ~12 Wh |
| 7" touchscreen (optional) | ~3 W | ~72 Wh |
Round up for charging losses and call it ~250 Wh/day for a Pi + node + screen.
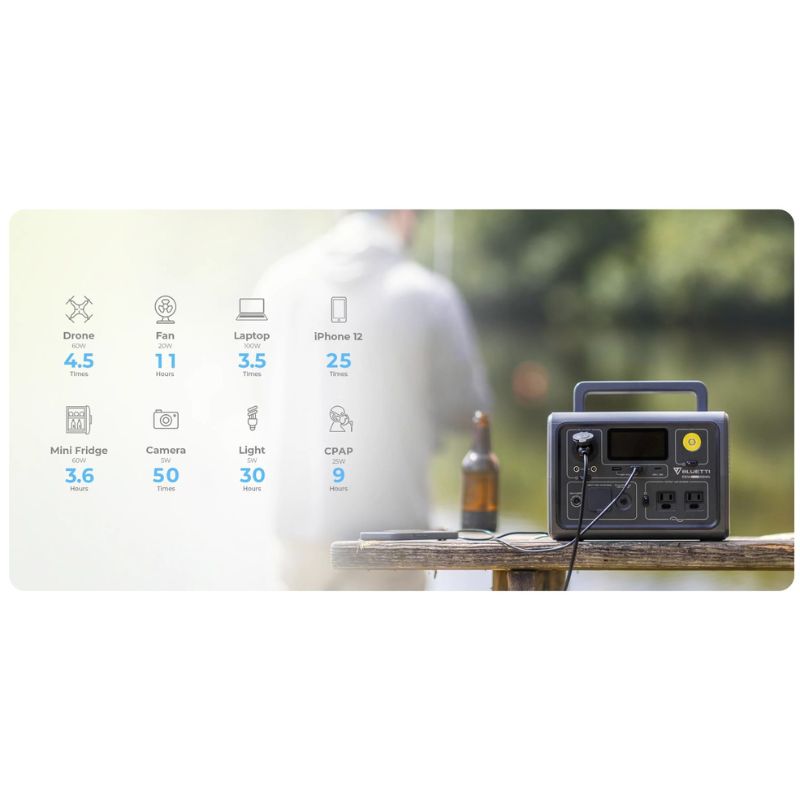
- Bench / RV — Bluetti EB3A (268 Wh) gets you ~1 day; Jackery 500/Bluetti AC50S (~500 Wh) gets you ~2.
- Field-portable — 20 Ah USB-PD power bank → ~70 Wh, half a day headless.
- Indefinite — 100 W solar panel + a 500 Wh battery in Florida sun keeps the kit running through the season; sized down to ~50 W in northern latitudes.
A PoE+ HAT on the Pi is genuinely useful if your kit lives in a closet — one cable to a PoE switch backed by a UPS, no separate power brick, no wall-wart to lose.
Display (optional)
A headless kit accessed from a phone is the lightest option. If you want a glass-in-the-room dashboard, the official 7" Raspberry Pi Touch Display 2 or a generic HDMI display + Chromium kiosk mode pointed at http://localhost:8081 works well. Budget another ~3 W.
Component reference
Visual reference for the hardware called out above — click through for the canonical product pages.
Host computer
 — Raspberry Pi 4 Model B (4 GB)
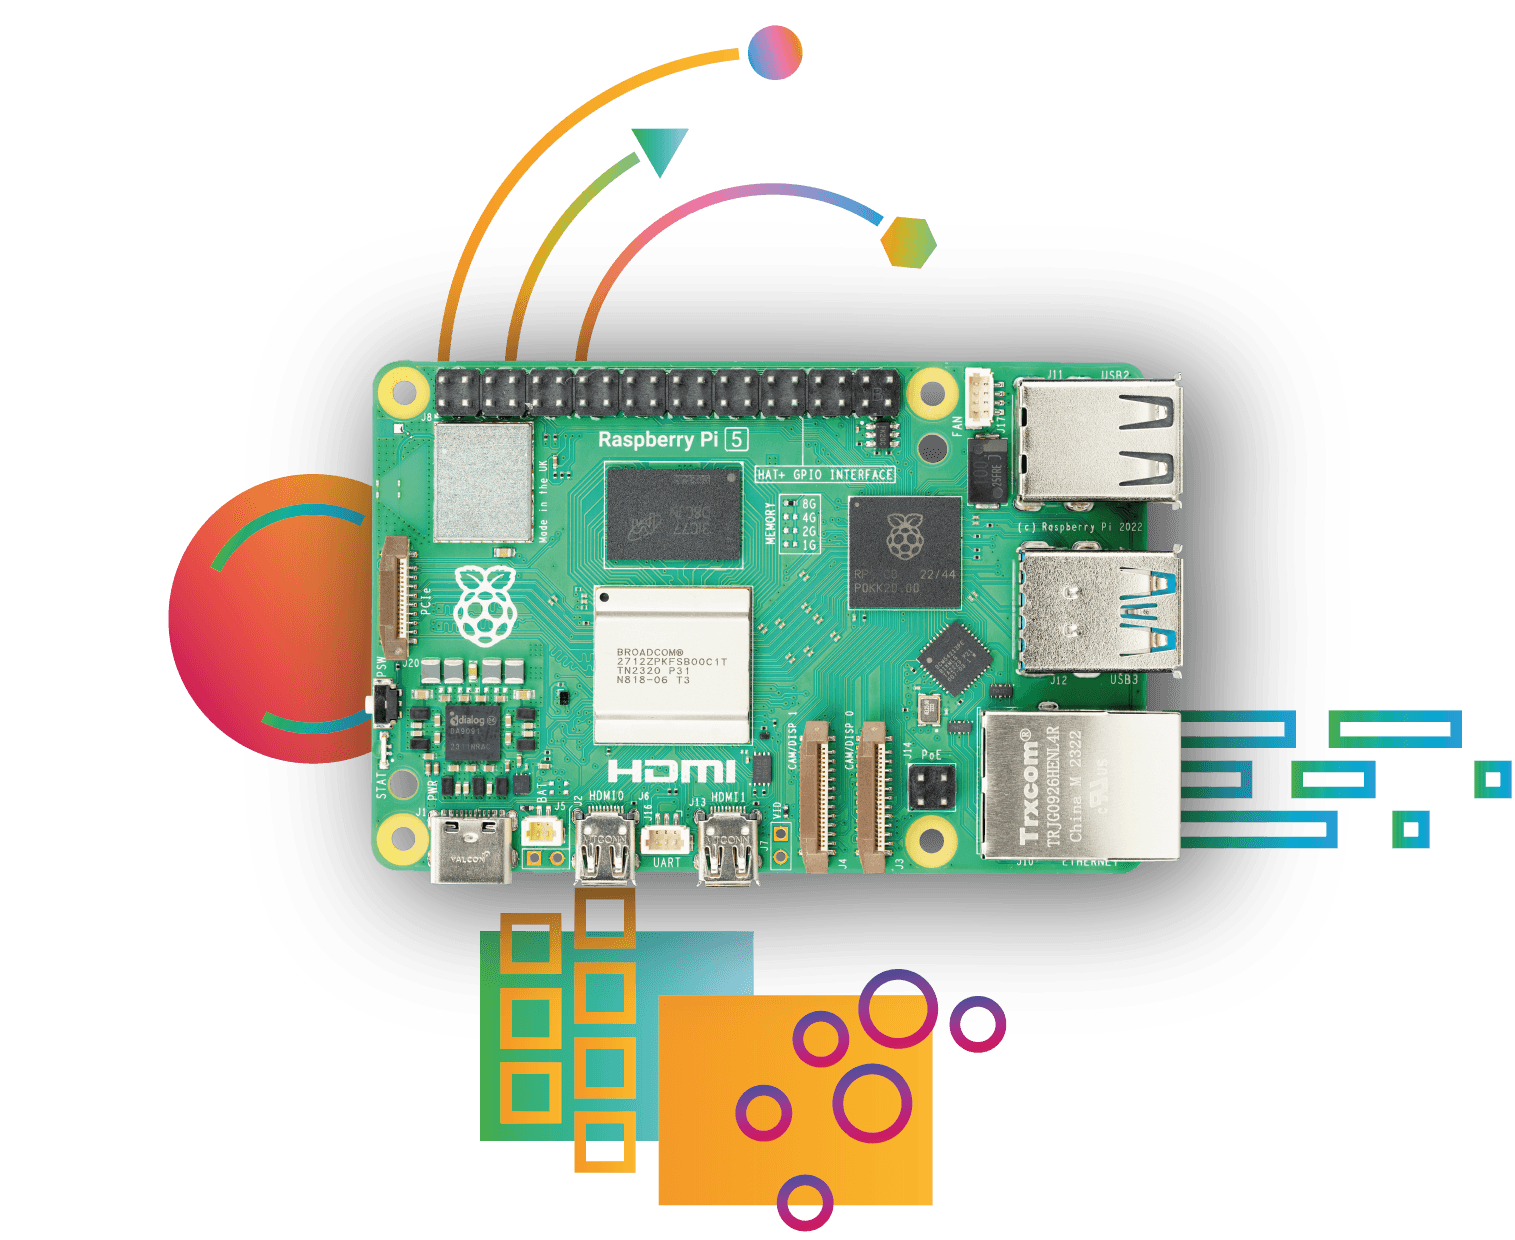 — Raspberry Pi 5 (8 GB)
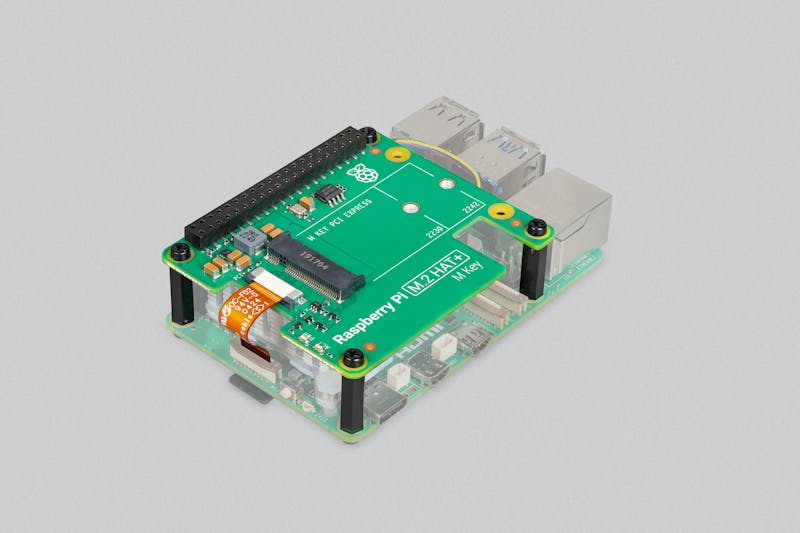 — Raspberry Pi M.2 HAT+ (NVMe)
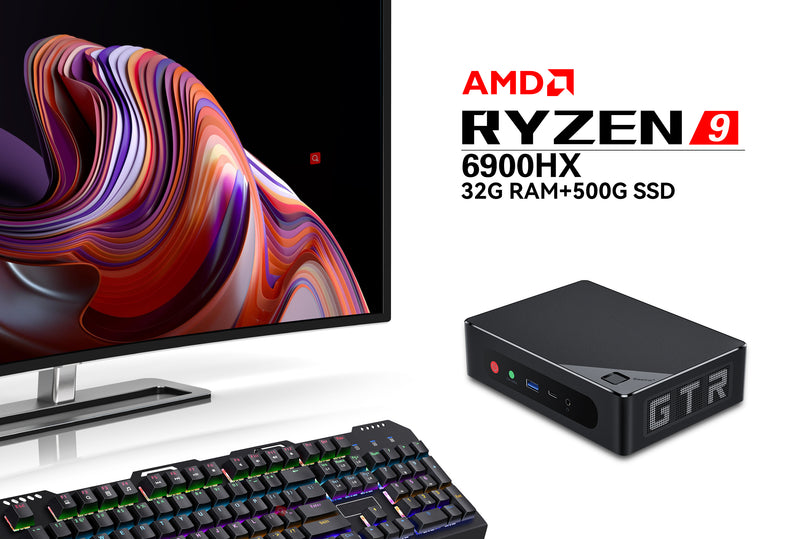 — Beelink Mini S12 Pro (N100)
LoRa nodes
 — Heltec WiFi LoRa 32 V3
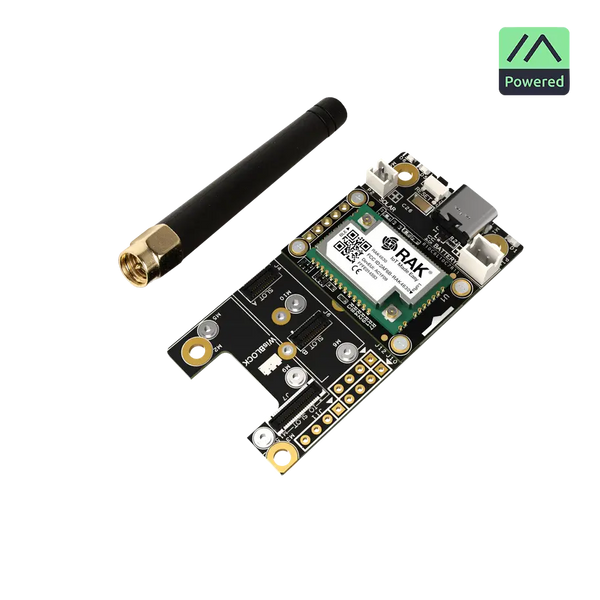 — RAK WisBlock Meshtastic Starter Kit (RAK4631)
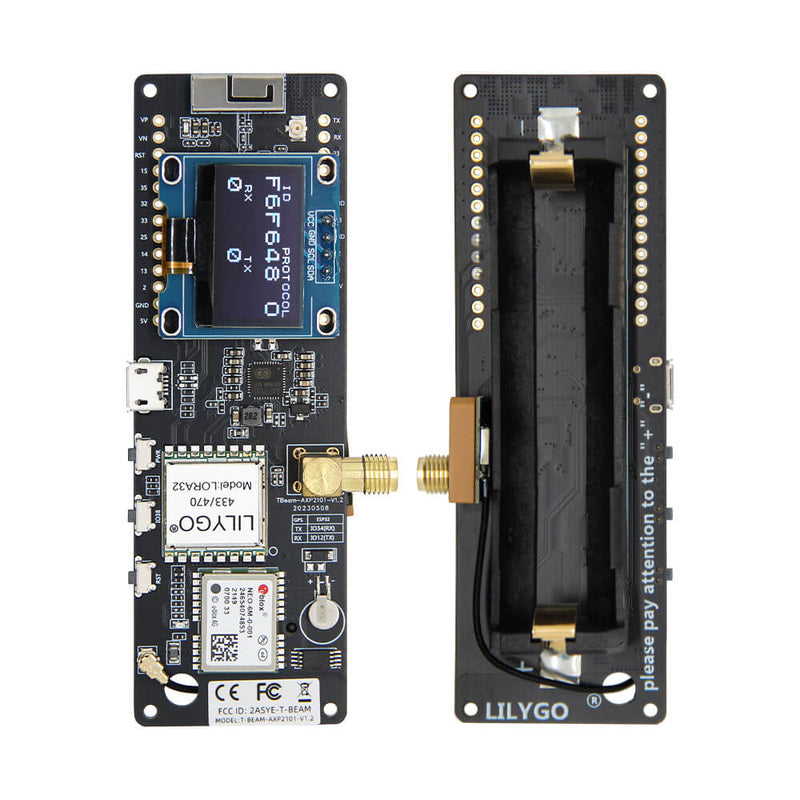 — LILYGO T-Beam
Power
 — Bluetti EB3A (268 Wh)
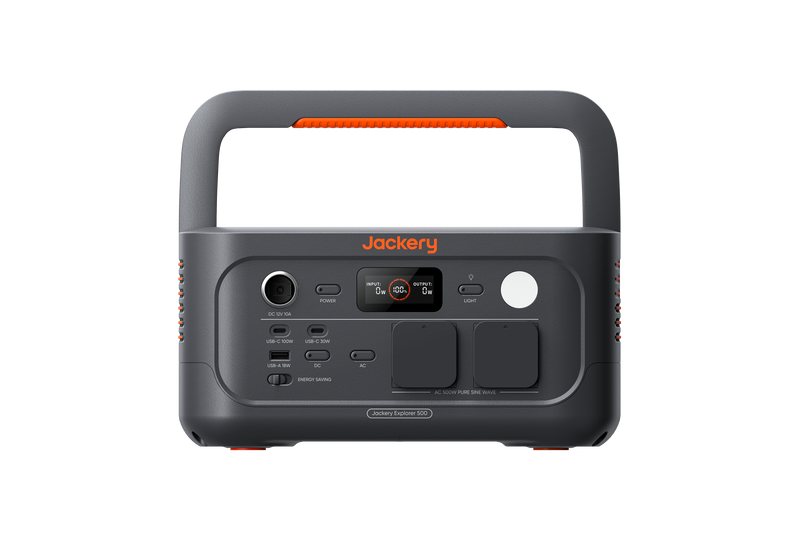 — Jackery Explorer 500
 — Bluetti AC50S (500 Wh)
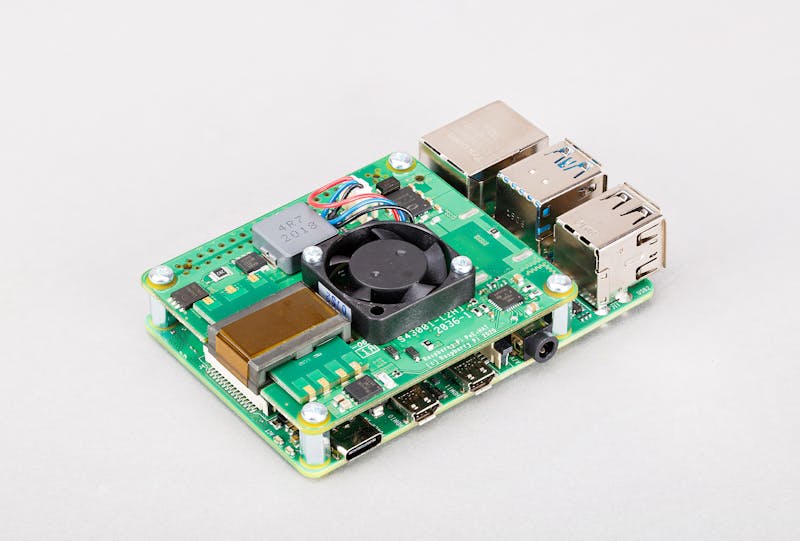 — Raspberry Pi PoE+ HAT
Display
 — Raspberry Pi Touch Display 2 (7")
Pre-flight checklist
Before you call the kit "done":
- [ ] Unplug your WAN. Reload MeshMonitor. Map tiles still render?
- [ ] Reboot the host. Does everything come back up without manual intervention?
- [ ] Power-cycle from battery only. Does it survive the brownout?
- [ ] Verify the node enumerates on the same
/dev/tty*path after reboot (use audevrule by serial if not). - [ ] Snapshot
./meshmonitor-datasomewhere off-kit — your config is the most expensive part to lose.
Further reading
- MeshMonitor in a Hurricane — operating the kit through a real event
- Embedded MQTT broker + bidirectional bridges
- Firmware management